

Before You Start
MCM Flexible Stone Panels Installation Video
FROM PREPARATION TO FINISHING
Tools Required
Prepare the tools required for MCM flexible stone panels installation, from accurate cutting and positioning to bonding and joint finishing.

For measuring and marking angles.

For marking straight reference lines.
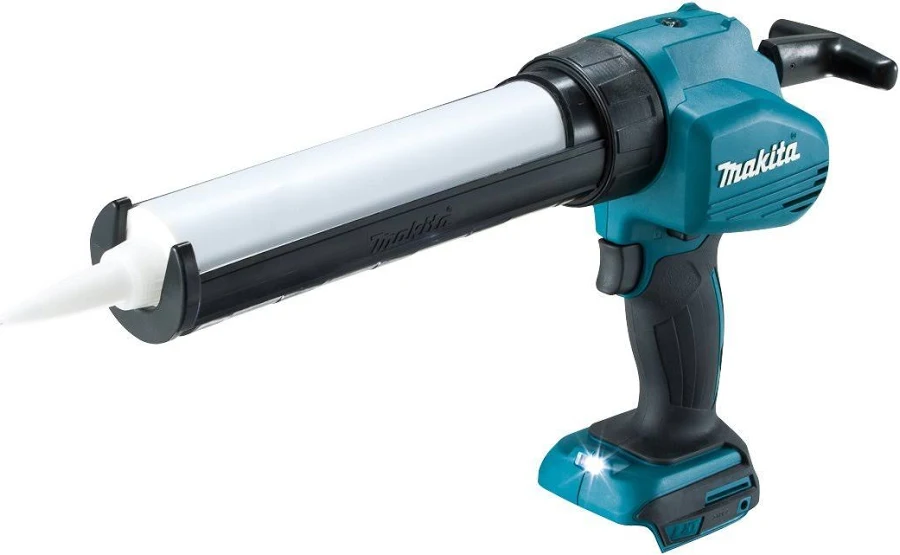
For applying structural adhesive to trim pieces.

For cutting and trimming flexible stone panels.

For shaping and finishing panel joints.
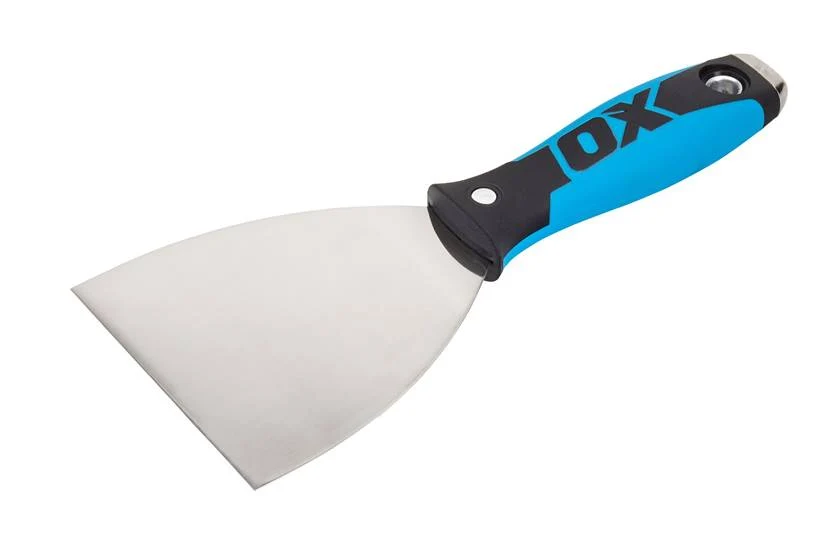
For surface preparation and minor repairs.
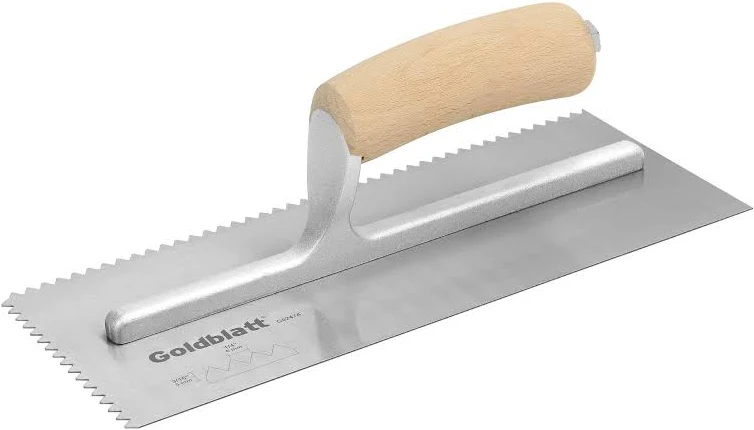
For evenly spreading adhesive on the substrate.

For measuring walls and panel dimensions.
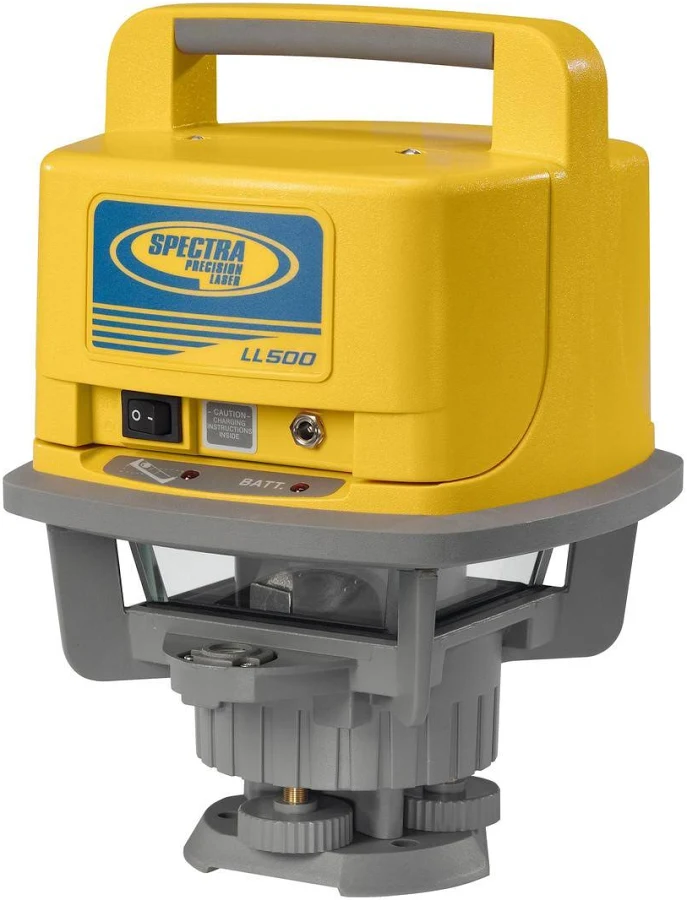
For accurate horizontal and vertical alignment.

For cutting flexible stone panels to size.
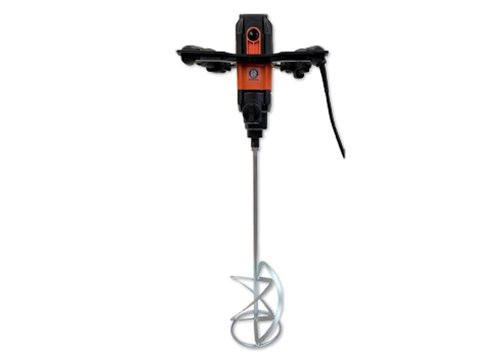
For mixing adhesives and installation materials.

For preparing adhesives and installation materials.
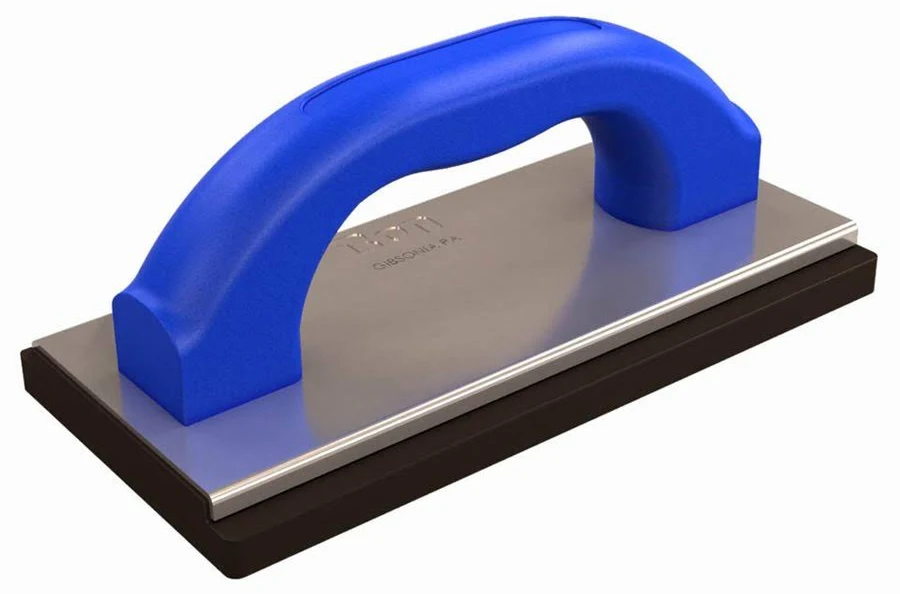
For pressing flexible stone panels firmly against the wall.

For applying jointing material into panel joints.
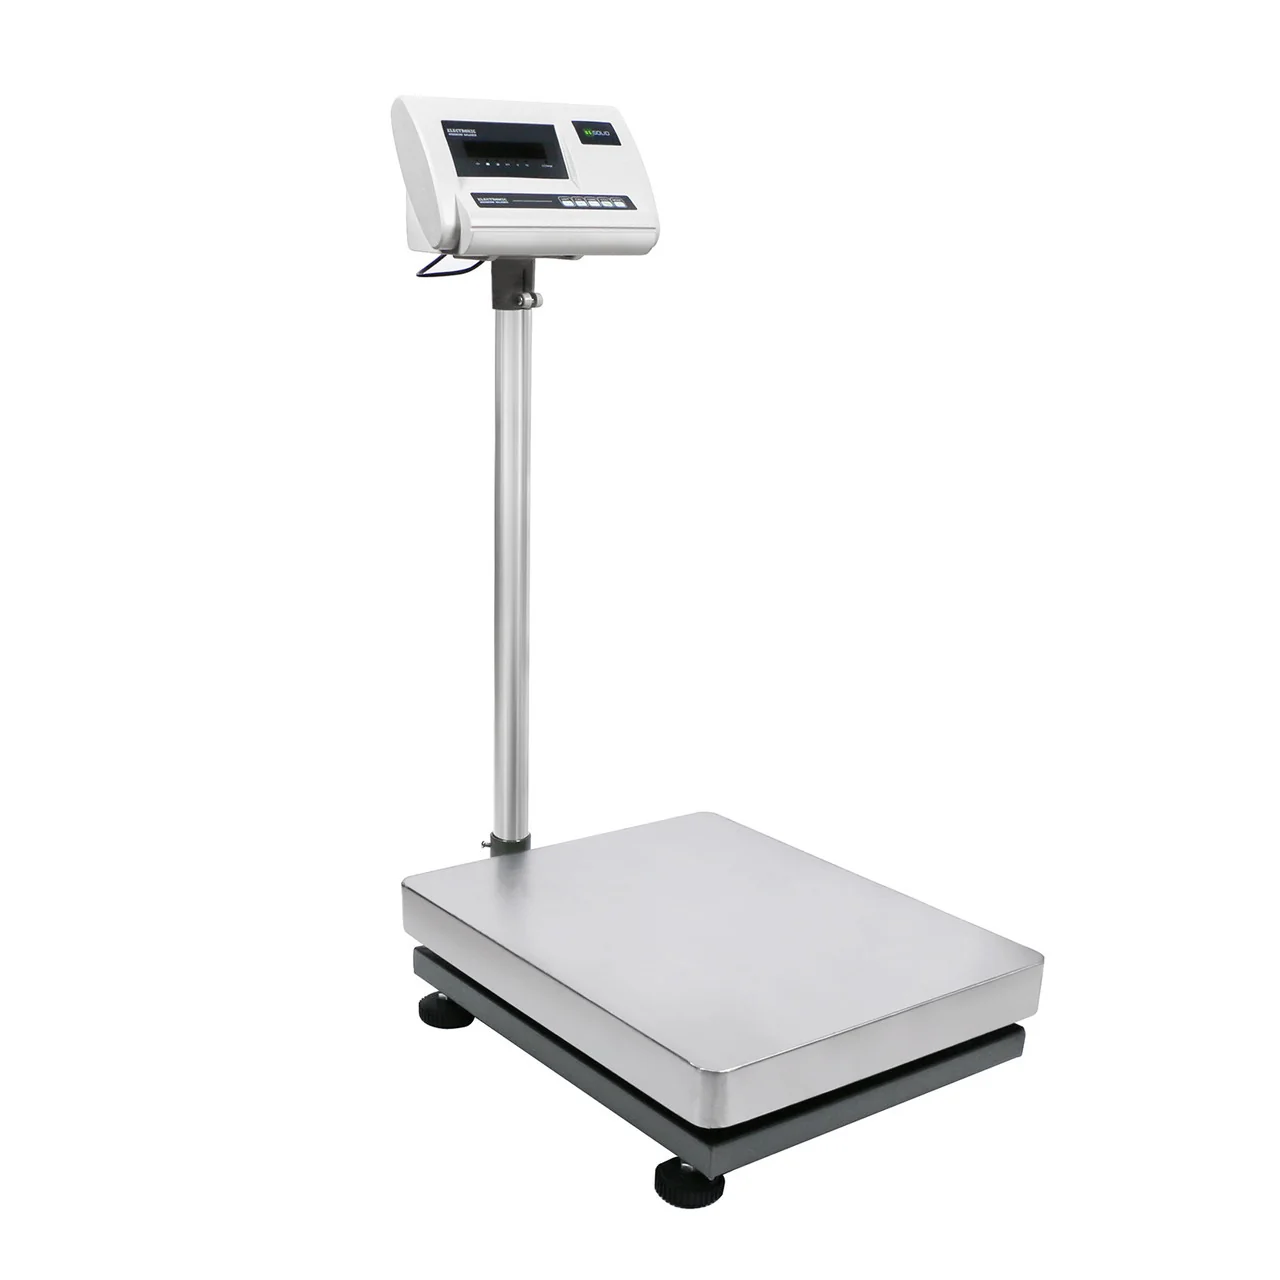
For accurately measuring adhesive components.

For fastening during installation.

For applying adhesive in small or hard-to-reach areas.
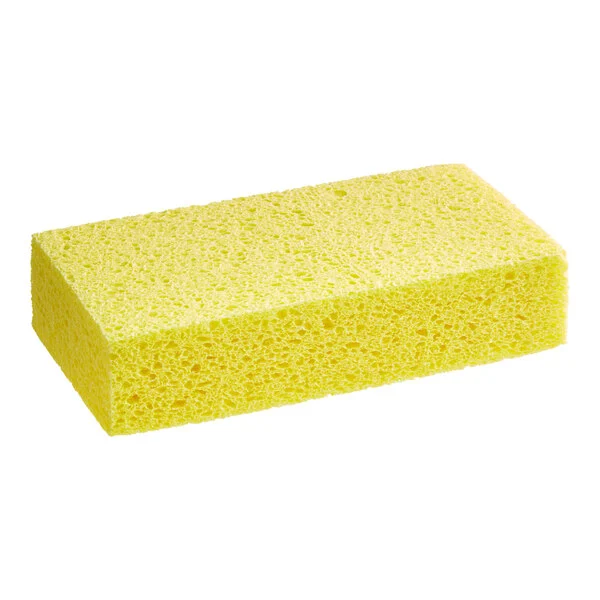
For cleaning surfaces and removing excess material.
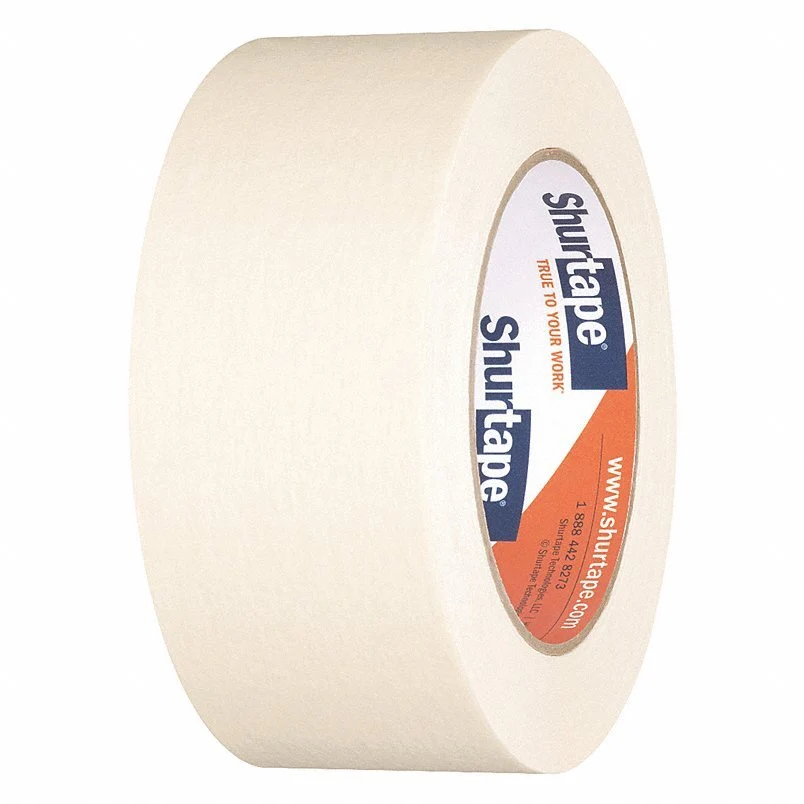
For protecting edges and adjacent surfaces.
MCM Installation Overview
Explore the key steps of MCM flexible stone panels installation, from substrate preparation and adhesive selection to panel installation, joint finishing and final inspection.
01 Substrate Preparation
01 Substrate Preparation
Before installing MCM Flexible Stone Panels, inspect the substrate carefully to ensure it is sound, stable, clean, sufficiently flat and suitable for the installation system.
Remove dust, grease, loose material, unstable coatings and other contaminants. Repair cracks, damaged areas and significant unevenness before installation.
Pre-Installation Checks
- Substrate Flatness — Level uneven areas before installation.
- Surface Condition — Remove loose, peeling or hollow coatings and weak material.
- Efflorescence — If efflorescence is present, apply one coat of alkali-resistant primer after appropriate surface treatment.
- Moisture Condition — Ensure the substrate is suitable for the selected installation system.
- Cleanliness — Remove dust, grease and other contaminants that may affect bonding.
Substrate-Specific Treatment
Concrete & Masonry
For concrete or masonry walls requiring leveling, apply 2–3 coats of crack-resistant mortar with mesh reinforcement, followed by an alkali-resistant primer or bonding agent where specified.
Gypsum Board, Aluminum, Glass & Ceramic Tile
For these specialty substrates, apply one coat of quartz primer at 0.4–0.5 kg/m² to improve bonding.
Wood-Based Substrates
Apply one coat of oil-based wood sealer at 0.2–0.3 kg/m² to help prevent moisture-related warping.
Painted Surfaces
Completely remove peeling, flaking or hollow paint coatings before installation. The remaining surface must be sound and suitable for the selected installation system.
Installation Conditions
- Do not install at temperatures below 5°C (41°F).
- In cold-weather construction, complete daily installation by 3:00 p.m. to allow sufficient curing time.
- Avoid impact or disturbance for the first 24 hours.
- Full strength is achieved after approximately 72 hours, according to the installation system.
- Avoid outdoor installation during wet weather to prevent water from affecting bonding performance.
Important
Substrate condition directly affects installation performance. Do not install over unstable, contaminated or unsuitable surfaces. Primer, leveling materials and treatment methods should be compatible with the substrate and the selected installation system.
02 Adhesive Selection
02 Adhesive Selection
Choose compatible materials for the complete installation system.
01 Adhesive
Select the adhesive according to the panel backing, substrate and installation environment.
For suitable mineral substrates, polymer-modified cementitious adhesives such as C2, C2TE, C2TE S1 or S2 may be considered where appropriate.
Other adhesive systems may be suitable for specific substrates or conditions.
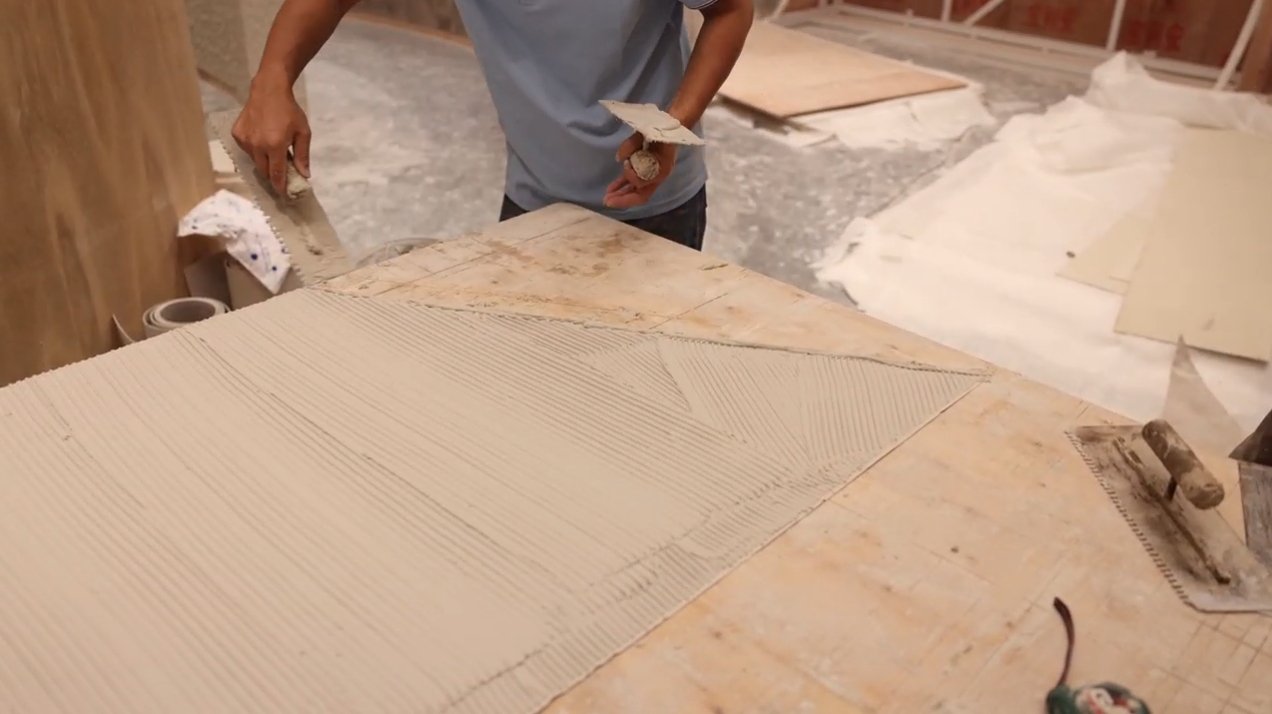
02 Primer / Interface Treatment
A suitable primer or bonding interface treatment may be required for glazed, dense, smooth or low-absorption surfaces.
Select the primer according to the substrate and adhesive system.

03 Jointing Material
Use a compatible jointing material to create clean and visually consistent seams.
The jointing material should coordinate with the adhesive and surrounding panel surface.
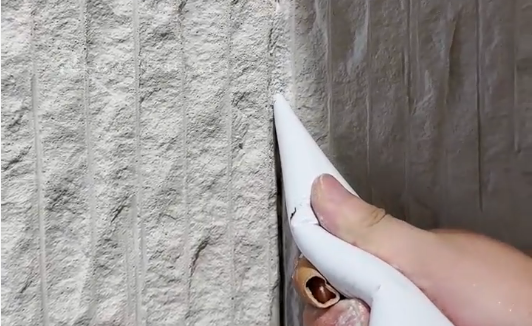
Where appropriate, a compatible pigment powder may be used to adjust the jointing material closer to the panel color. Confirm compatibility before use.
Key checks
- Panel and substrate compatibility
- Interior or exterior conditions
- Moisture and temperature exposure
- Primer requirements
- Jointing material compatibility
- Joint color and overall appearance
For detailed adhesive selection guidance, see:
How to Choose the Right Adhesive for Flexible Stone Veneer →
Important
The substrate condition directly affects adhesive performance. Do not install over unstable, contaminated or unsuitable surfaces.
03 Layout & Cutting
03 Layout & Cutting
Before cutting any panels, determine how the panels will be arranged on the substrate. Establish the starting point, panel direction, corners, openings, edges and joint locations first. Then plan the cuts according to the installation layout.
01 Plan the Layout
Review the installation area and decide:
- Starting point and installation direction
- Panel arrangement and pattern direction
- Position of corners and openings
- Panel edges and visible seams
- Areas requiring full panels or cut panels

02 Mark the Substrate
Mark clear horizontal and vertical reference lines on the substrate according to the planned layout.
Use a laser level, chalk line or other suitable measuring tools to establish accurate reference lines before applying adhesive.

03 Dry-Fit the Panels
Place the panels against the substrate without adhesive to confirm the planned arrangement.
Check the pattern direction, corners, openings, edges and joint positions. Adjust the layout before making any cuts.
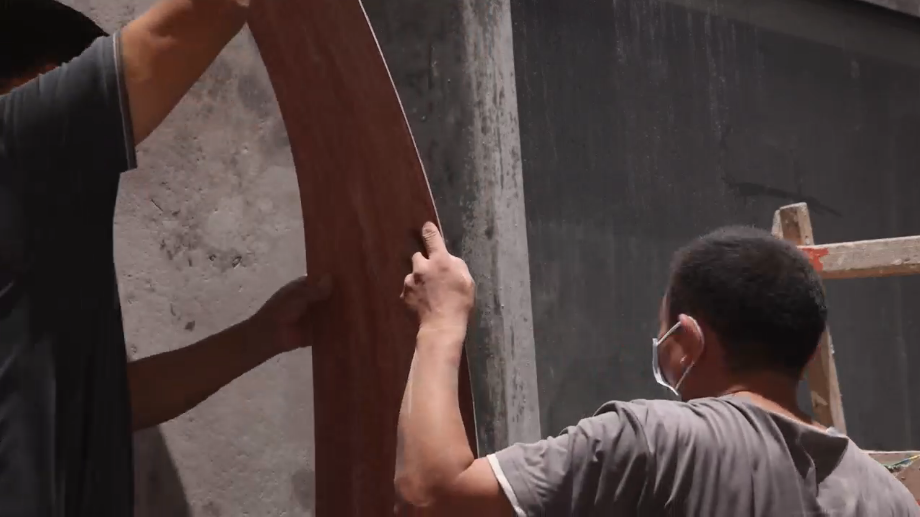
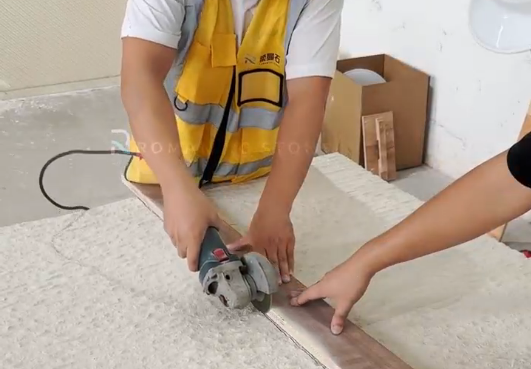
04 Cut the Panels
Cut the panels according to the marked dimensions using the appropriate approved cutting tool.
For complex shapes or openings, make the cut gradually and check the fit before removing additional material.
Key checks
- Measure the installation area accurately
- Establish reference lines
- Dry-fit panels before applying adhesive
- Mark openings, corners and required cuts
- Check panel orientation and seam locations
- Cut panels using the appropriate approved tool
Always test the selected cutting method on an off-cut before making production cuts. Cutting methods can vary according to panel construction and thickness. DEVOX
Important
Test the selected cutting method on an off-cut before making production cuts. Cutting methods may vary according to panel construction and thickness.
04 MCM Flexible Stone Panels Installation
04 MCM Flexible Stone Panels Installation
How to install flexible stone panels: MCM Flexible Stone Panels can be installed on properly prepared substrates, including concrete and cement render, cement board, fiber-cement board, gypsum board, plasterboard, plywood, fire-resistant plywood, wood-based boards, ceramic and porcelain tile, metal, aluminum, and glass.
The substrate must be sound, stable, clean, and sufficiently flat, with suitable surface preparation and primer or interface treatment where required. Select the adhesive according to the substrate, panel backing, and installation conditions.
MC Stone
The standard installation process is:
01 Set Out
Establish reference lines according to the planned layout.

02 Apply Adhesive
Apply the selected alkali-resistant adhesive evenly to the substrate using the approved method.

03 Install the Panels
Position the panels according to the reference lines and press them firmly into place.

04 Finish the Joints
Fill the joints with the compatible jointing material. Where permitted by the product system, panels may also be installed with close joints.

05 Clean the Surface
Remove adhesive and installation residue from the panel surface after installation.

MC Brick
The standard installation process is:
01 Set Out & Position
Establish reference lines and determine the brick layout before installation.

02 Apply Adhesive to the Back
Apply the selected alkali-resistant adhesive evenly to the back of the product.
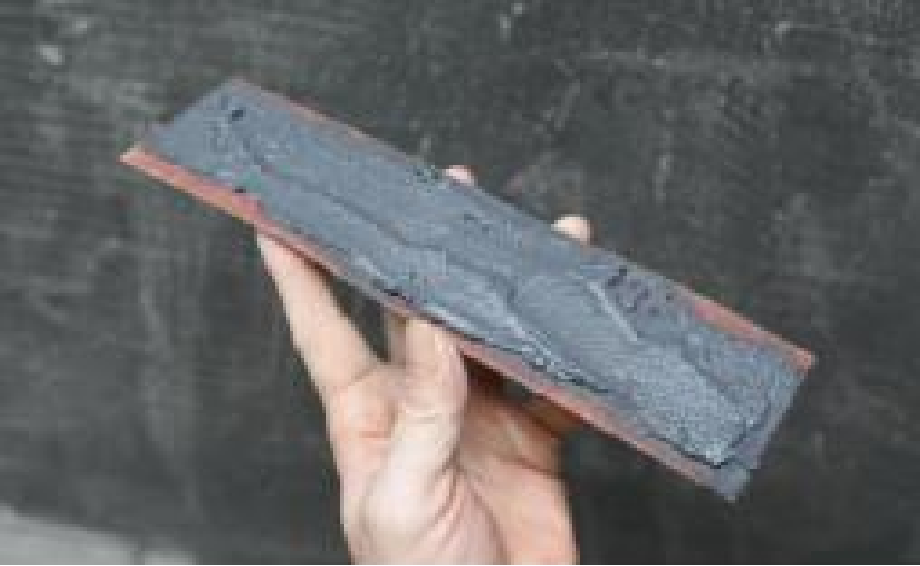
03 Install & Adjust the Joint Width
Position the product and gently move or press it up and down to adjust the alignment and required joint width.

04 Fill the Joints
Place the compatible jointing material into a grout bag and fill the joints evenly.
Where specified by the installation system, silicone sealant may also be used for joint filling.
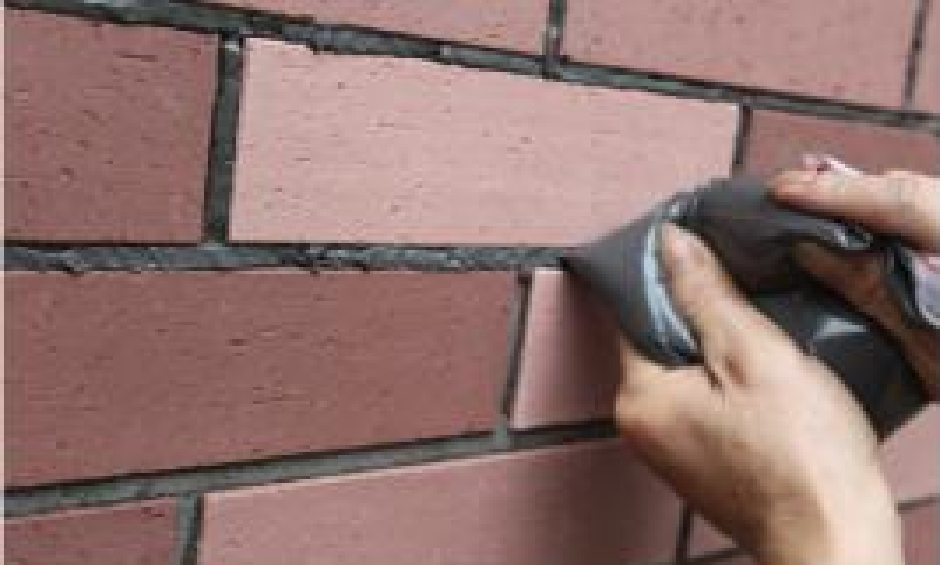
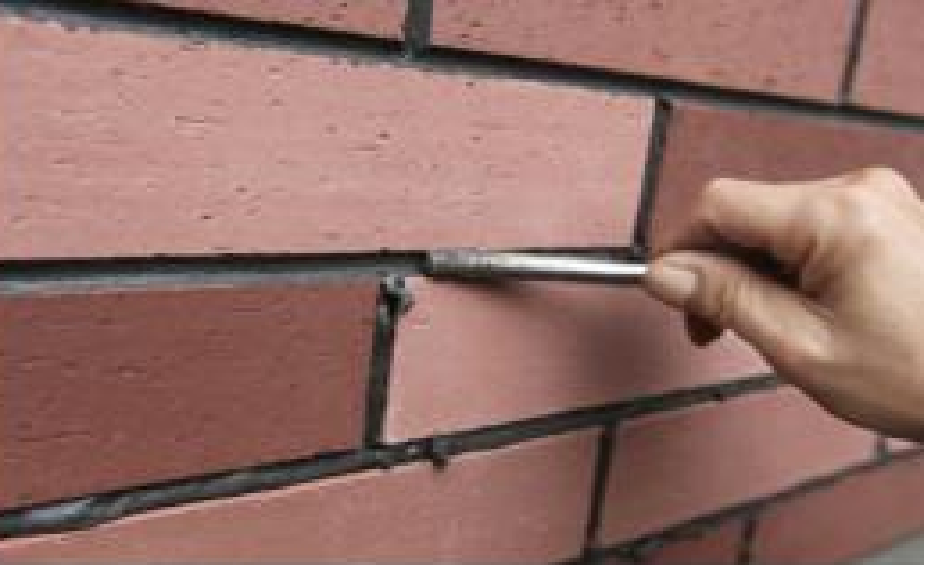
05 Form the Joints
For a 6 mm joint, use an 8 mm steel rod as a jointing guide. Pull the rod through the joint while the jointing material is partially dry to form a consistent joint.
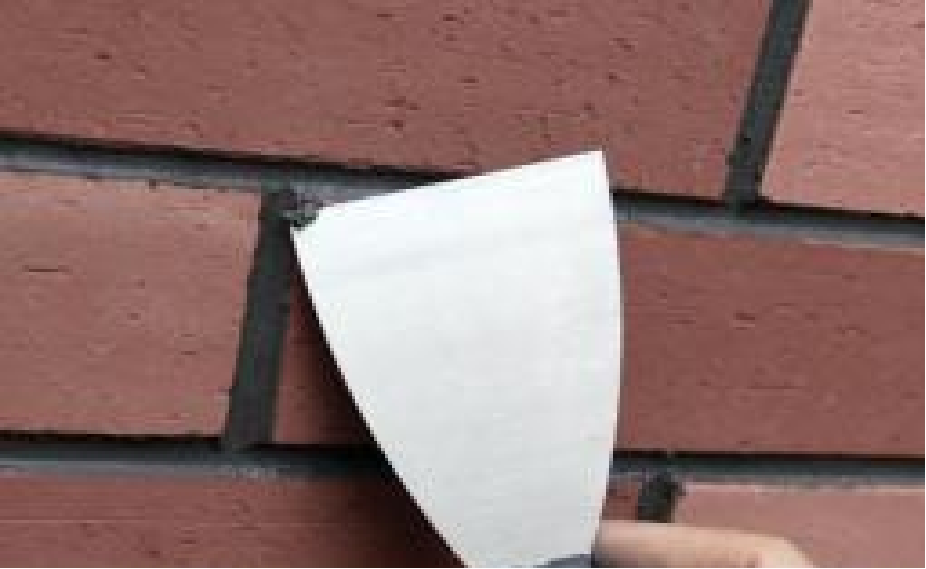
06 Remove Excess Material
Use a putty knife to remove excess jointing material from the product surface and edges.
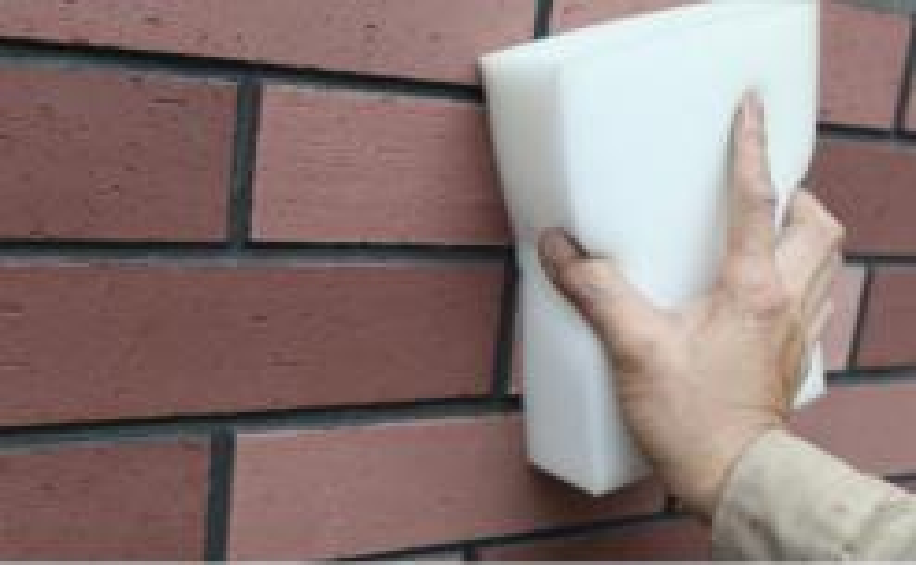
07 Clean the Surface
Use a sponge to gently clean the surface and remove any remaining jointing material or residue.
Important
- Use an alkali-resistant adhesive suitable for the MC product and substrate.
- Use the compatible jointing material specified for the installation system.
- If adhesive contaminates the product surface during installation, do not wipe it while wet.
- Allow the adhesive to dry, then carefully remove the residue with a putty knife or dry sponge.
05 Corner & Edge Treatment
05 Corner & Edge Treatment
During flexible stone installation, MCM Flexible Stone Panels are typically installed with tight joints for a clean, continuous appearance. Where a defined edge, corner protection, or decorative transition is required, metal trim profiles can be used as an alternative edge treatment.
Metal trims should be installed before the adjacent panel is cut and positioned, so the finished panel edge can be accurately aligned with the trim.
Metal Trim Installation
Required Tools & Materials
- Metal trim profile
- Angle grinder
- Utility knife
- Marker
- Handheld cutting machine or workbench
- Structural adhesive
- Straightedge
- Tape measure
- Rubber tapping board
Installation Steps
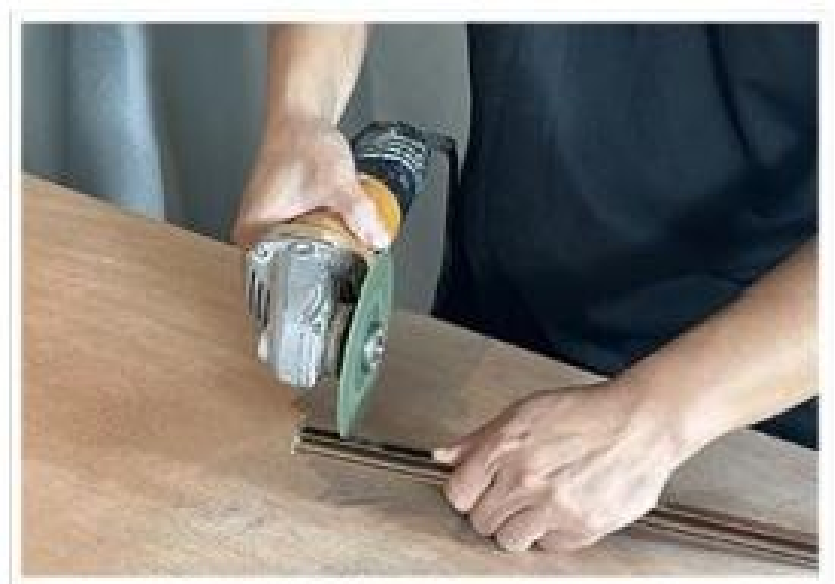
01 — Cut the Metal Trim
Mark the required length on the metal trim and cut it using a handheld cutting machine or workbench cutting setup.
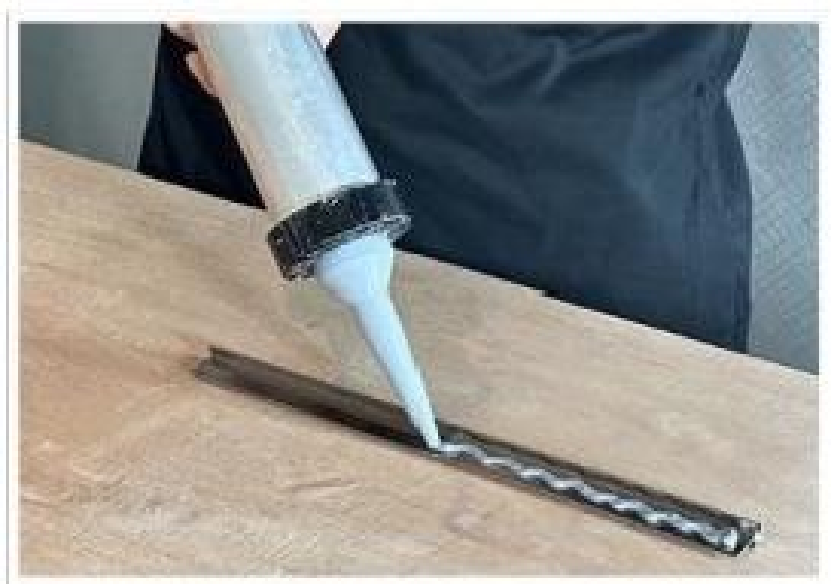
02 — Apply Structural Adhesive
Apply structural adhesive evenly to the bonding surface of the metal trim.
03 — Install the Metal Trim
Position the trim along the designated corner or exposed edge and press it firmly into place.

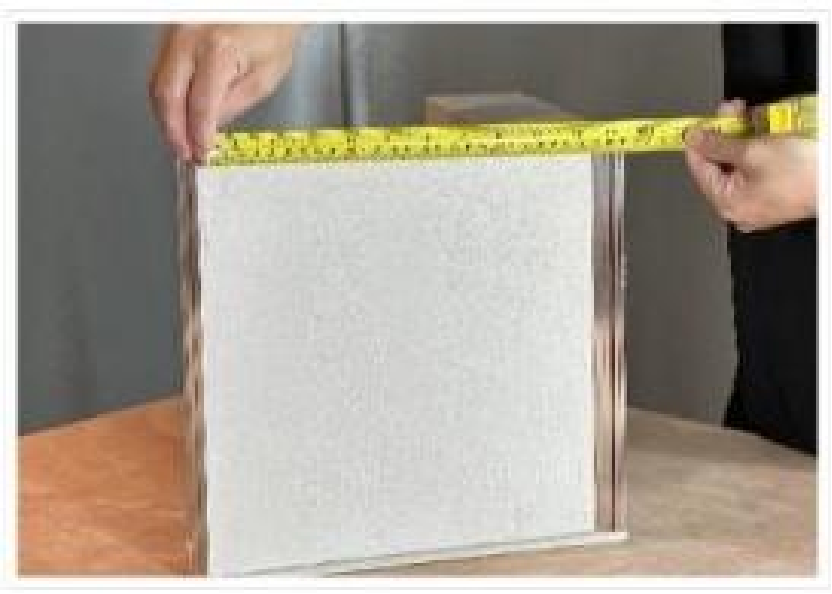
04 — Measure the Actual Panel Dimension
After the trim has been installed, measure the actual wall dimension between the installed trim and the adjacent reference point.
05 — Cut the Panel
Transfer the measured dimension to the MCM Flexible Stone Panel and cut the panel accordingly using the appropriate cutting tool.
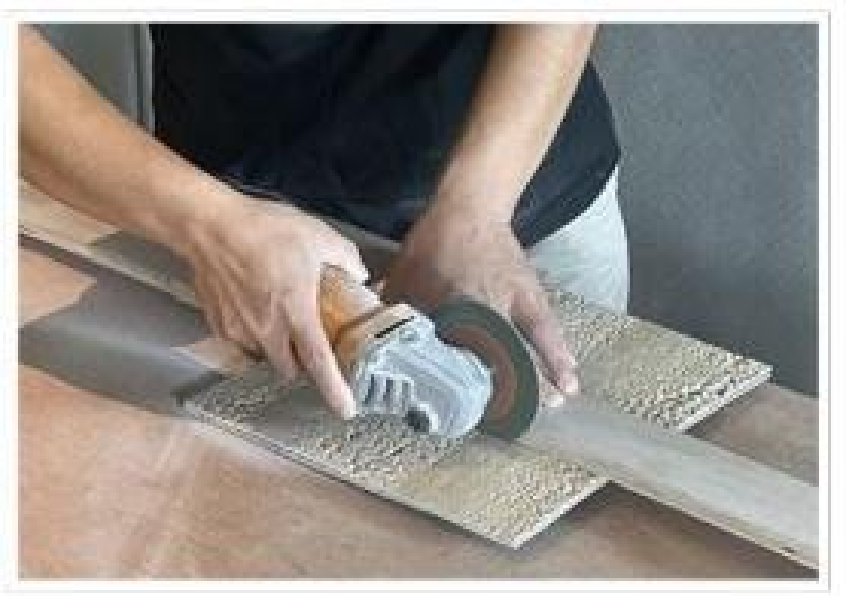
06 — Refine the Panel Edge
Use an angle grinder to carefully grind the cut edge of the panel, creating a flatter and cleaner edge for a closer fit against the metal trim.

07 — Install the Panel Along the Trim
Apply the selected adhesive and position the panel tightly along the edge of the metal trim.

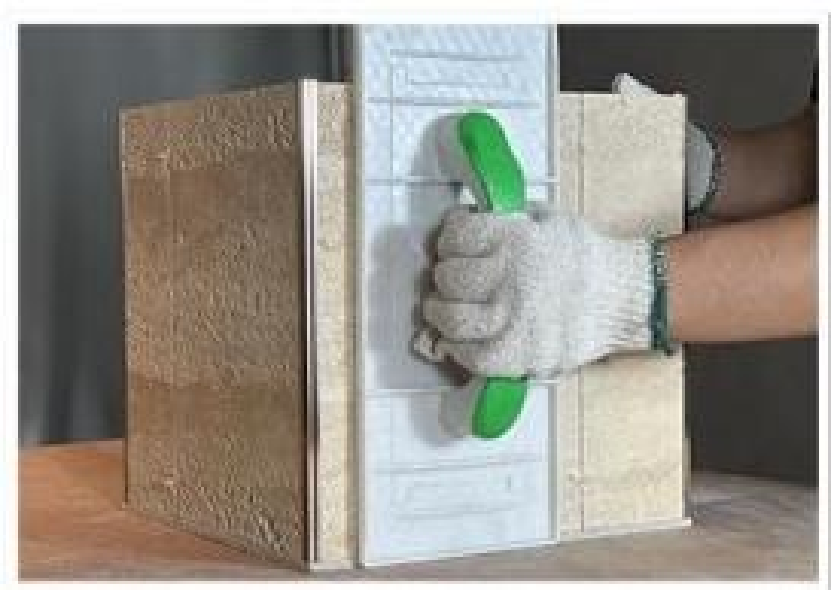
08 — Press the Panel
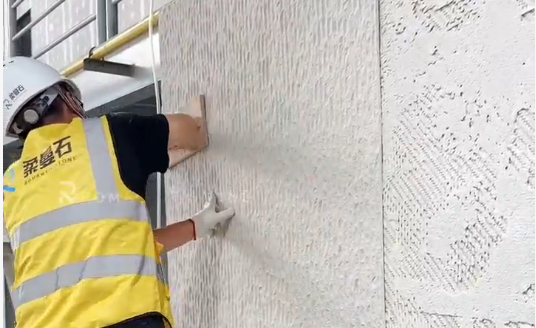
Use a rubber tapping board to press the panel evenly and firmly into position.
Do not press the panel directly with your hands.
Key checks
- Tight joints are suitable for many MCM Flexible Stone Panel applications where a continuous surface appearance is required.
- Metal trims can be used where a defined edge, corner detail or decorative transition is required.
- Install and secure the metal trim before taking the final panel measurement.
- Measure the actual installed dimension rather than relying only on the original drawing dimension.
- The panel edge should be refined where necessary to achieve a clean fit against the trim.
- Use a structural adhesive compatible with both the trim and the installation system.
- Follow the product-specific requirements for corner and edge details.
06 Joint Finishing
06 Joint Finishing
Create clean and consistent panel joints.
Follow these six steps to achieve clean and visually consistent joints.
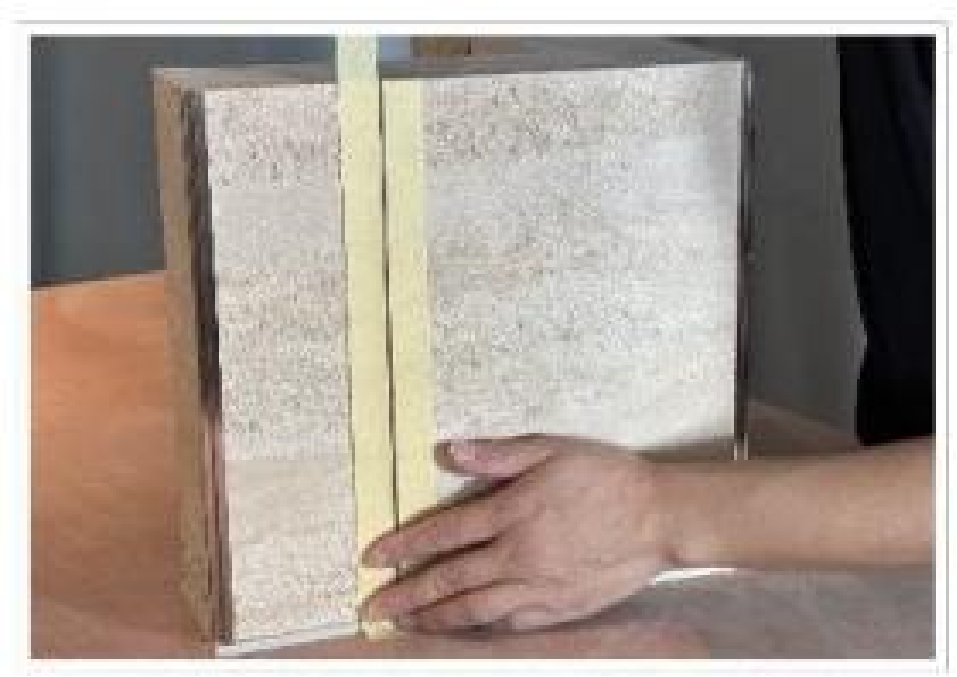
01 Apply Masking Tape
After the panels are bonded, apply masking tape along both sides of the joint to protect the panel surface during grouting.
Note: Do not apply masking tape to textured or uneven-surface panels.
02 Prepare the Jointing Material
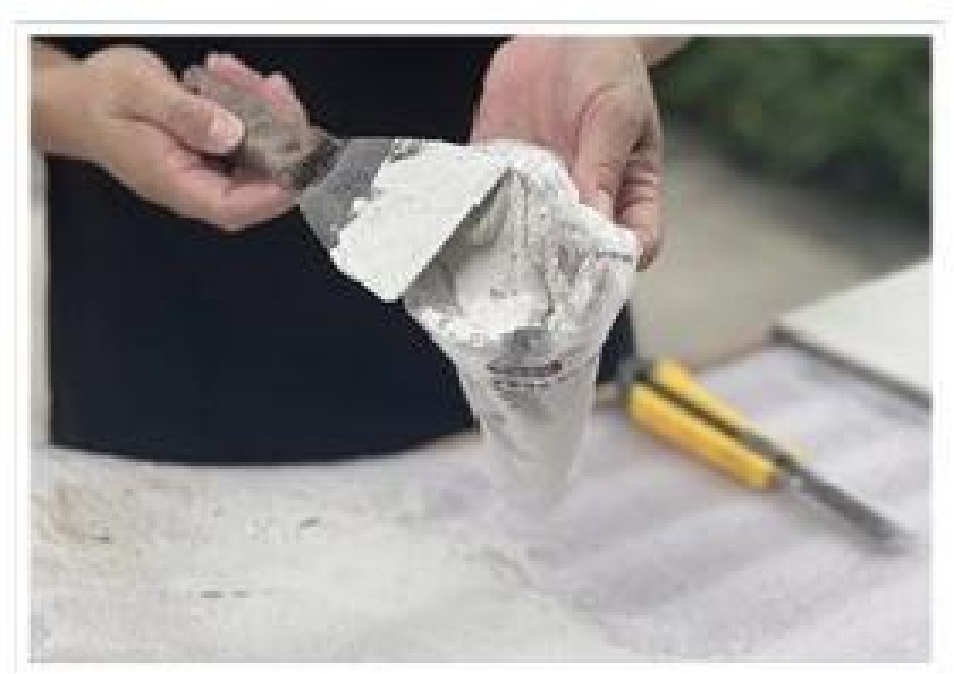
Mix a compatible pigment powder into the jointing material to achieve a color that matches the panel surface. Place the prepared material into a grout bag.
03 Fill the Joint
Apply the color-matched jointing material evenly into the joint using the grout bag.

04 Tool the Joint
Use a jointing tool to smooth and shape the joint for a clean finish.
05 Remove the Masking Tape
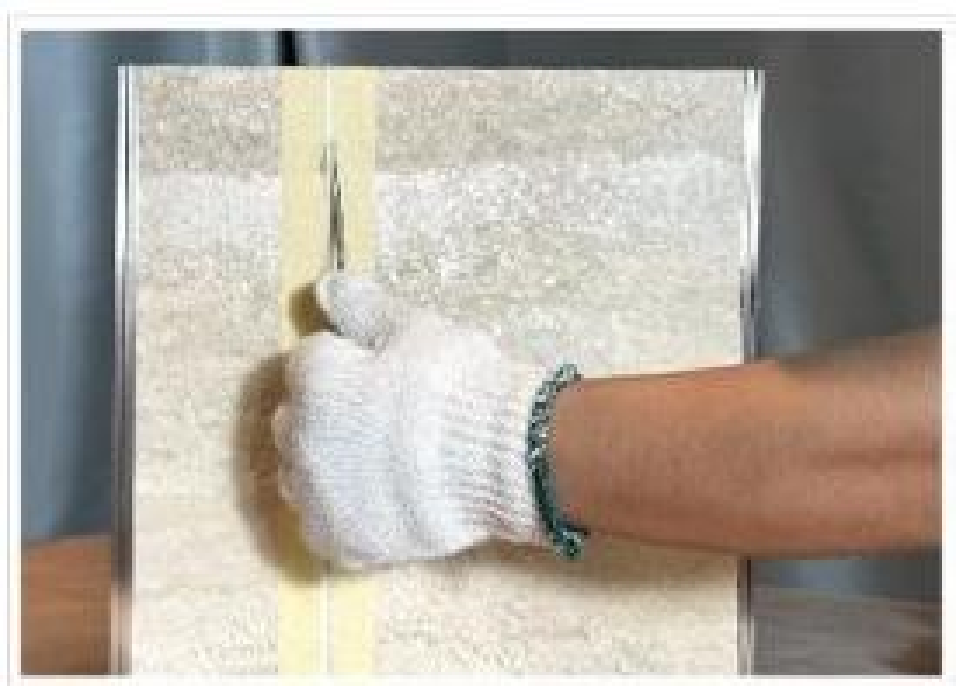
Allow the jointing material to dry completely, then carefully remove the masking tape.
06 Clean the Surface
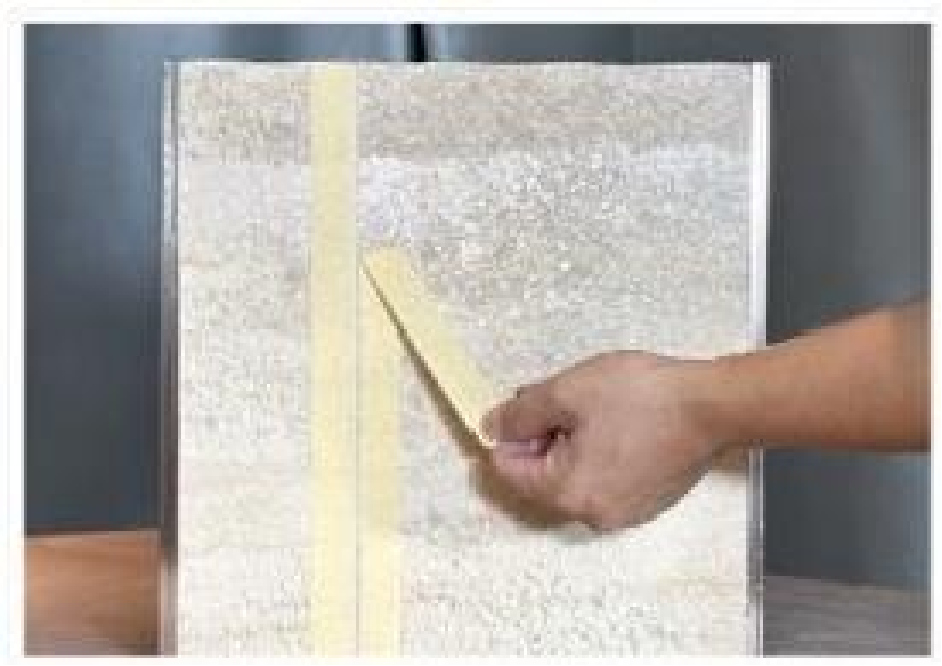
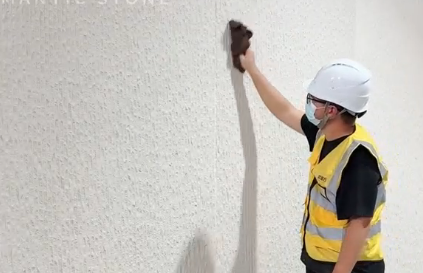
Use a dry sponge to gently remove remaining material and clean the panel surface.

Installation complete.
07 Final Inspection
07 Final Inspection
Once installation and finishing are complete, inspect the entire surface under suitable lighting.
Check panel alignment, surface contact, corners, edges and joints. Remove remaining adhesive or jointing residue according to the relevant product instructions.
Key checks
- Panels are correctly aligned
- Surface is securely bonded
- No visible lifting or loose edges
- Corners and edges are properly finished
- Joints are clean and consistent
- Surface is free from installation residue
- Completed areas are protected during curing
Follow the adhesive manufacturer’s required curing and protection conditions before placing the installation into service. A final inspection should assess the complete installation—not just the appearance of the panels. HeyMaterials

For measuring and marking angles.
For marking straight reference lines.
For applying structural adhesive to trim pieces.
For cutting and trimming flexible stone panels.
For shaping and finishing panel joints.
For surface preparation and minor repairs.
Need help with your project?
Our team can help you review substrate conditions, installation requirements and suitable MCM Flexible Stone Panels solutions.